THE DIFFERENCE BETWEEN A TOUCH-UP AND A CORRECTION
The word touch-up is common in the PMU and microblading practice. We need to do it after a procedure to guarantee our job, but also we need to touch up somebody else's job, which is the reason for this article. Is that procedure a touch-up, or is it a correction?
In my Permanent Makeup practice, I frequently receive calls from clients who got their job with another person and need a touch-up. When they call, they usually say, "It's almost nothing; it is just a retouch," but most of the time, it is not just that.
Since color changes over time as a natural process, for me, a retouch-up could mean "a correction."
The consultation
Ask for a picture. After you analyze it, you may know exactly what to do during her visit. That way you prepare and quote it accordingly.
It is essential to communicate well and explain that since you are working over a designed shape and there is already a color implanted on her skin, you can not be 100% responsible for the final result because you are working on a pre-existing basis. The result will be the sum of those colors.
Please take before and after pictures. They will be your witnesses.
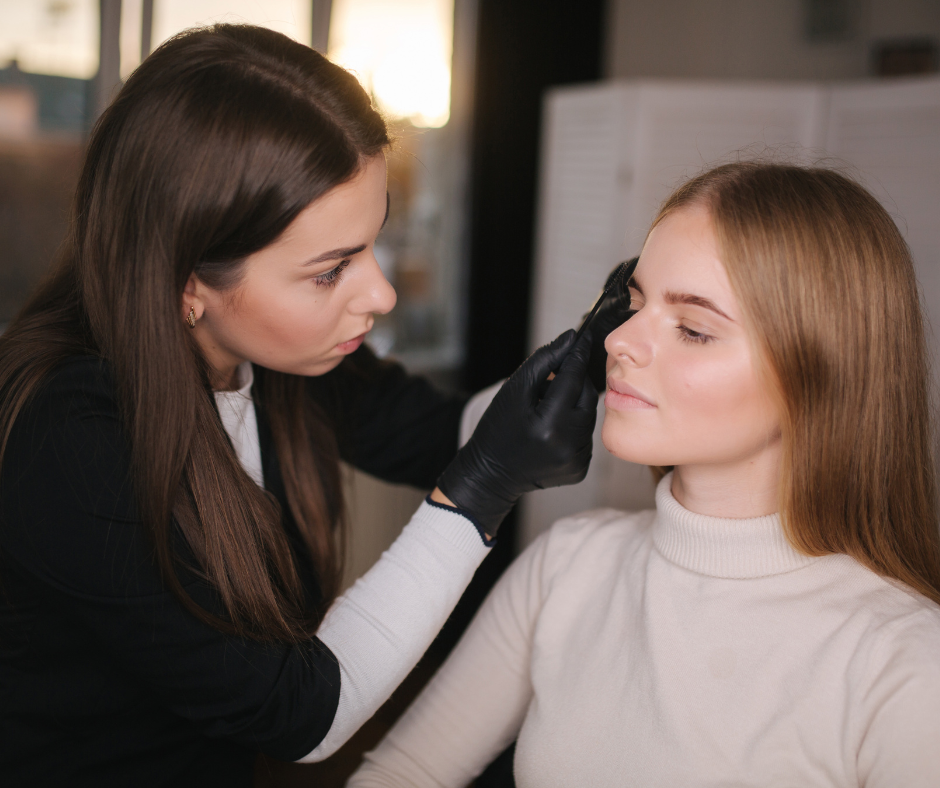
The difference between a touch up and a correction
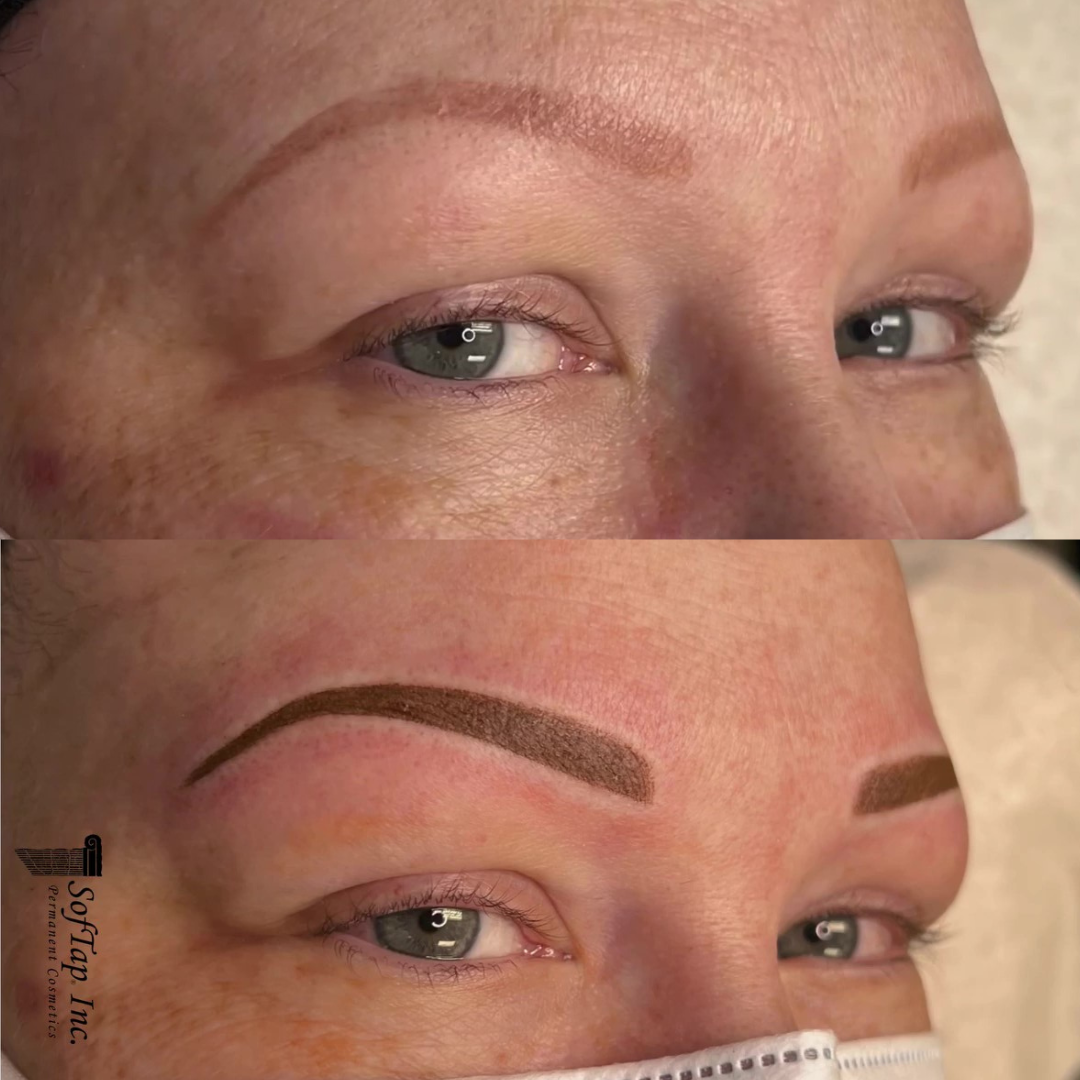
Touch up
Consider a touch-up when the client has faded eyebrows, lipliner, or eyeliner that conserve the original tone and shape. If that is not the case, you need to handle it as a correction.
If the case is a touch-up, you may apply the desired color on top.
If the tone is even, do what you'd do if it were a new procedure. And that's it.
If there are lighter areas or variations, do it first, and then work in the whole place to get an even result.
Correction
You cannot simply apply brown color on top when your client has reddish, bluish, grayish, or violet eyebrows. If you do it, the color she had will appear again. For this reason, you must neutralize it before applying the desired brown color. Of course, there are more complicated cases where you need to modify the shape as well, but this is another topic of conversation.
If your client needs to modify the form, that is a subject of correction for an expert; if you are one of those, go ahead! However, if you do not have that knowledge, I would recommend that you NOT commit to the work. If you do it, the result may differ from what you expect.
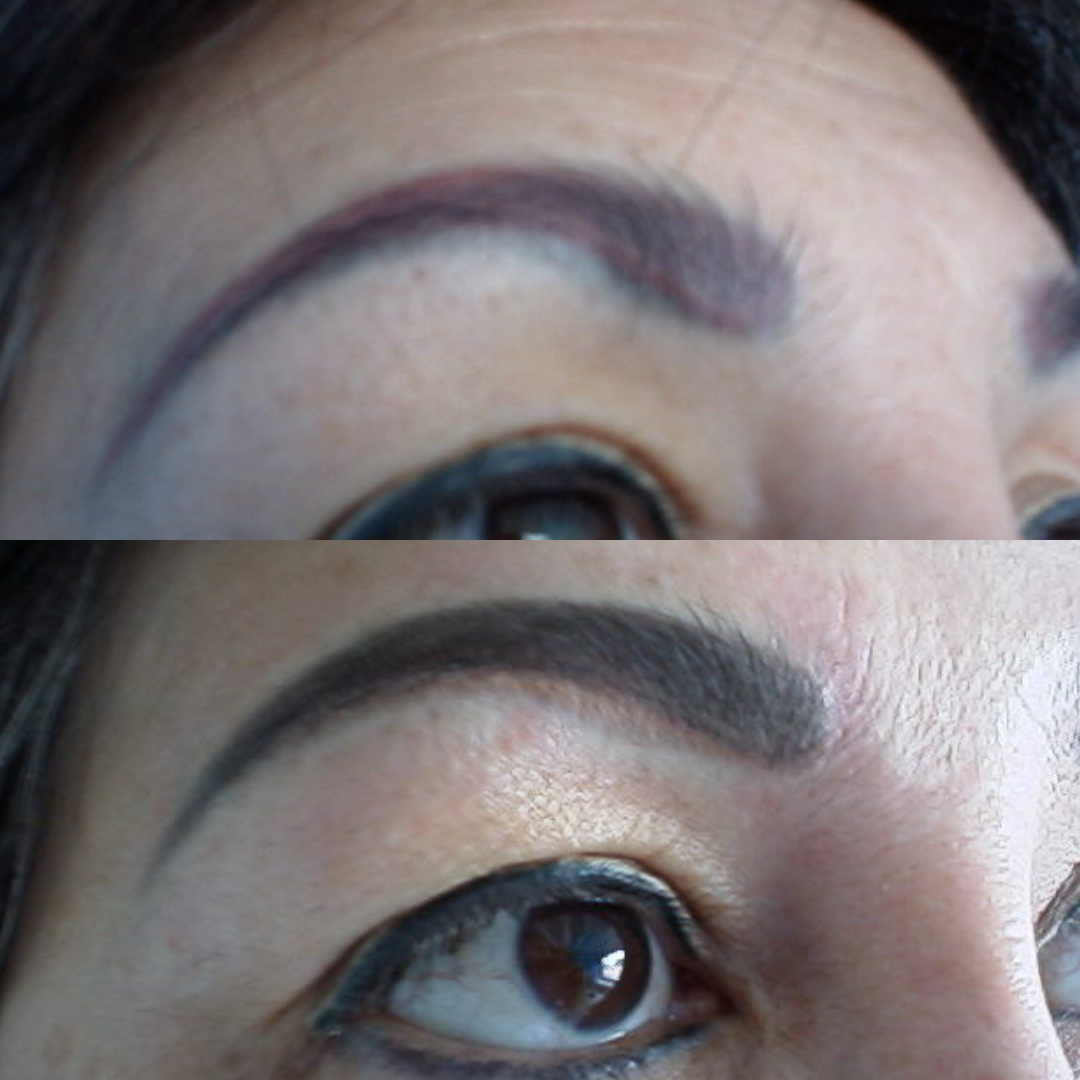
Try to avoid correcting the shape, the color, and the new design in one session; usually, the result is a disaster. For example, if you don't fix the previous color, that color stands out, generating an effect that doesn't look natural like you see in this picture here.
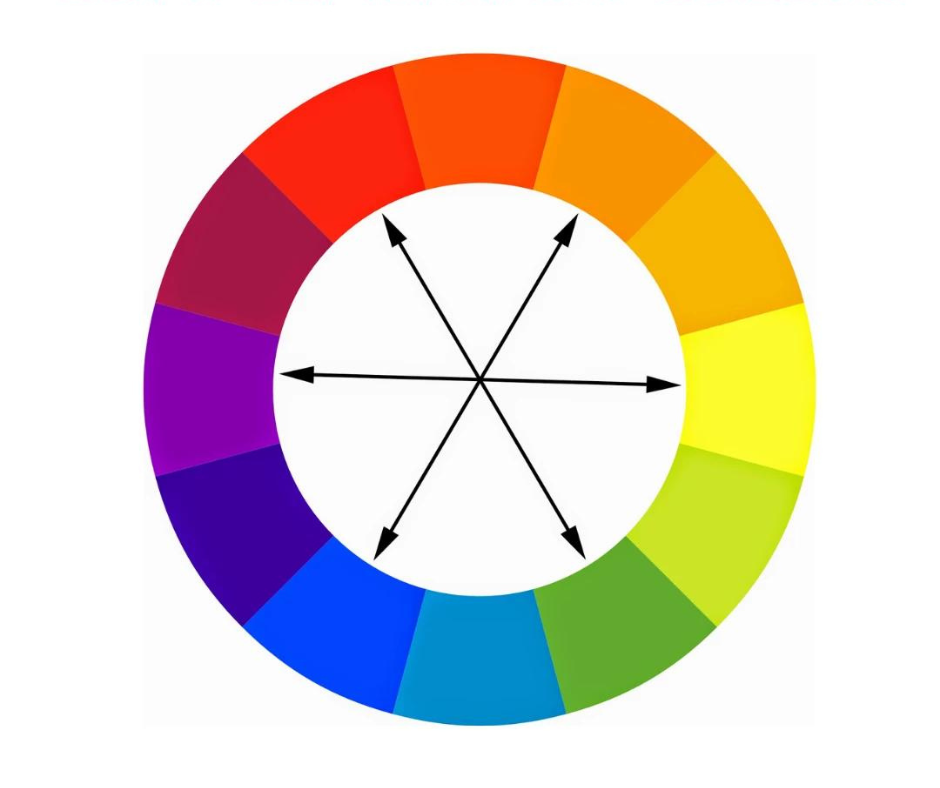
In general terms, you must remember that you have to neutralize a color with its complementary color. In the color wheel, the complementary colors are opposite each other:
Green complements red.
Orange complements blue, and
Yellow complements purple
In permanent makeup, when you mix two complementary colors, the result is brown. When you implant one pigment on top of its complementary, it will turn to a neutral brown.
Orange: This is best for neutralizing a blue or gray color
Green: Lime-Aid- It is best for neutralizing red or orange tones.
Yellow: Lemon-Aid helps in those cases when your client has multiple colors in her eyebrows.
These are The Softap Correction Aid Colors


TIPS FOR YOUR CORRECTION PROCEDURES
If the color is reddish, apply Lime Aid and then apply a neutral or light cold tone.
If the color is bluish or grayish, apply Orange aid and then use a warm tone.
If the color is purple, apply Lemon Aid and a warm tone.
If the color is light, you can do both the neutralization and the application of the brown color in the same session.
If the color is very dark and the client wants it lighter, I recommend you apply the correction aid alone and do one more session with the correction aid and the desired color. You may need to do another session to touch up the desired color.
You must wait 3-4 weeks between sessions.
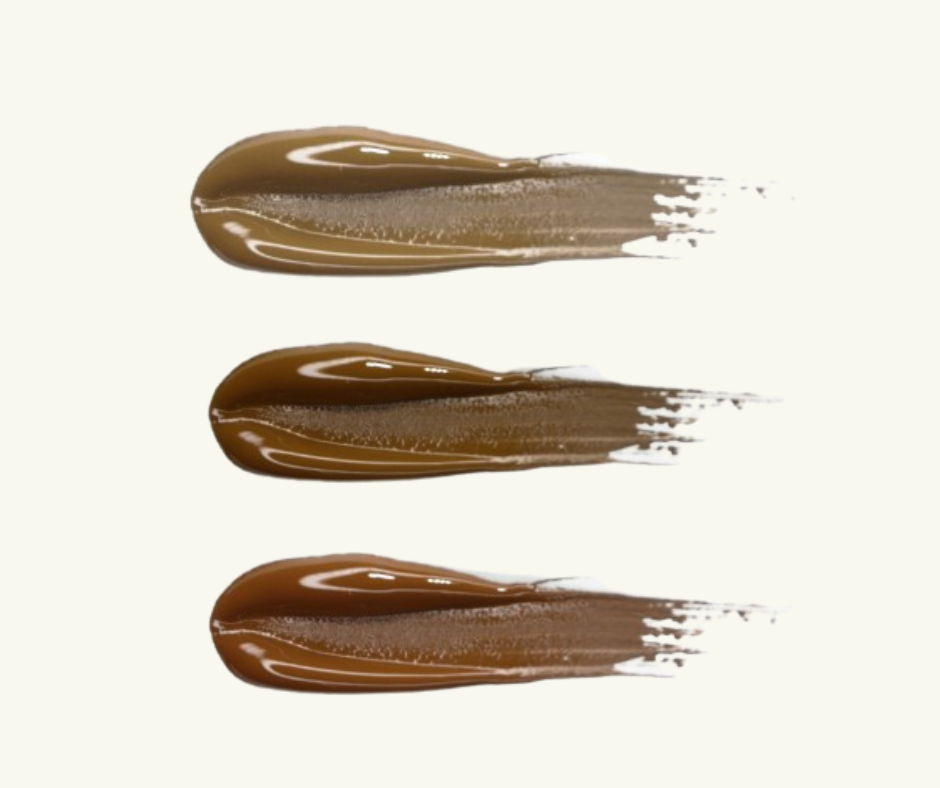
Quick SofTap guide for corrections!
This demo will help you better understand how to use the Softap's correction colors
Whatch more Next time you receive a call from one of your clients asking for a touch-up, remember two things:
Do not give a price if you don't see her personally or have a good-quality photo.
Think that you have to do more than you imagined.

I hope that what I do, inspires you for your next Procedure!
Talk soon,
Dr. Sandra Cardona
explore the advanced mini kits collection
explore the softap essential for correction
explore more ARTICLES

AFTER CARE DIRECTIONS FOR YOUR CLIENTS
Several factors affect the fixation of the Softap pigment, including the skin type of your client, their immune system response, the number of passes you do during the procedure, and the technique you performed. Still, it is also imperative that the person follows the post-procedure instructions since this directly affects the color retention and, of course, the final result.
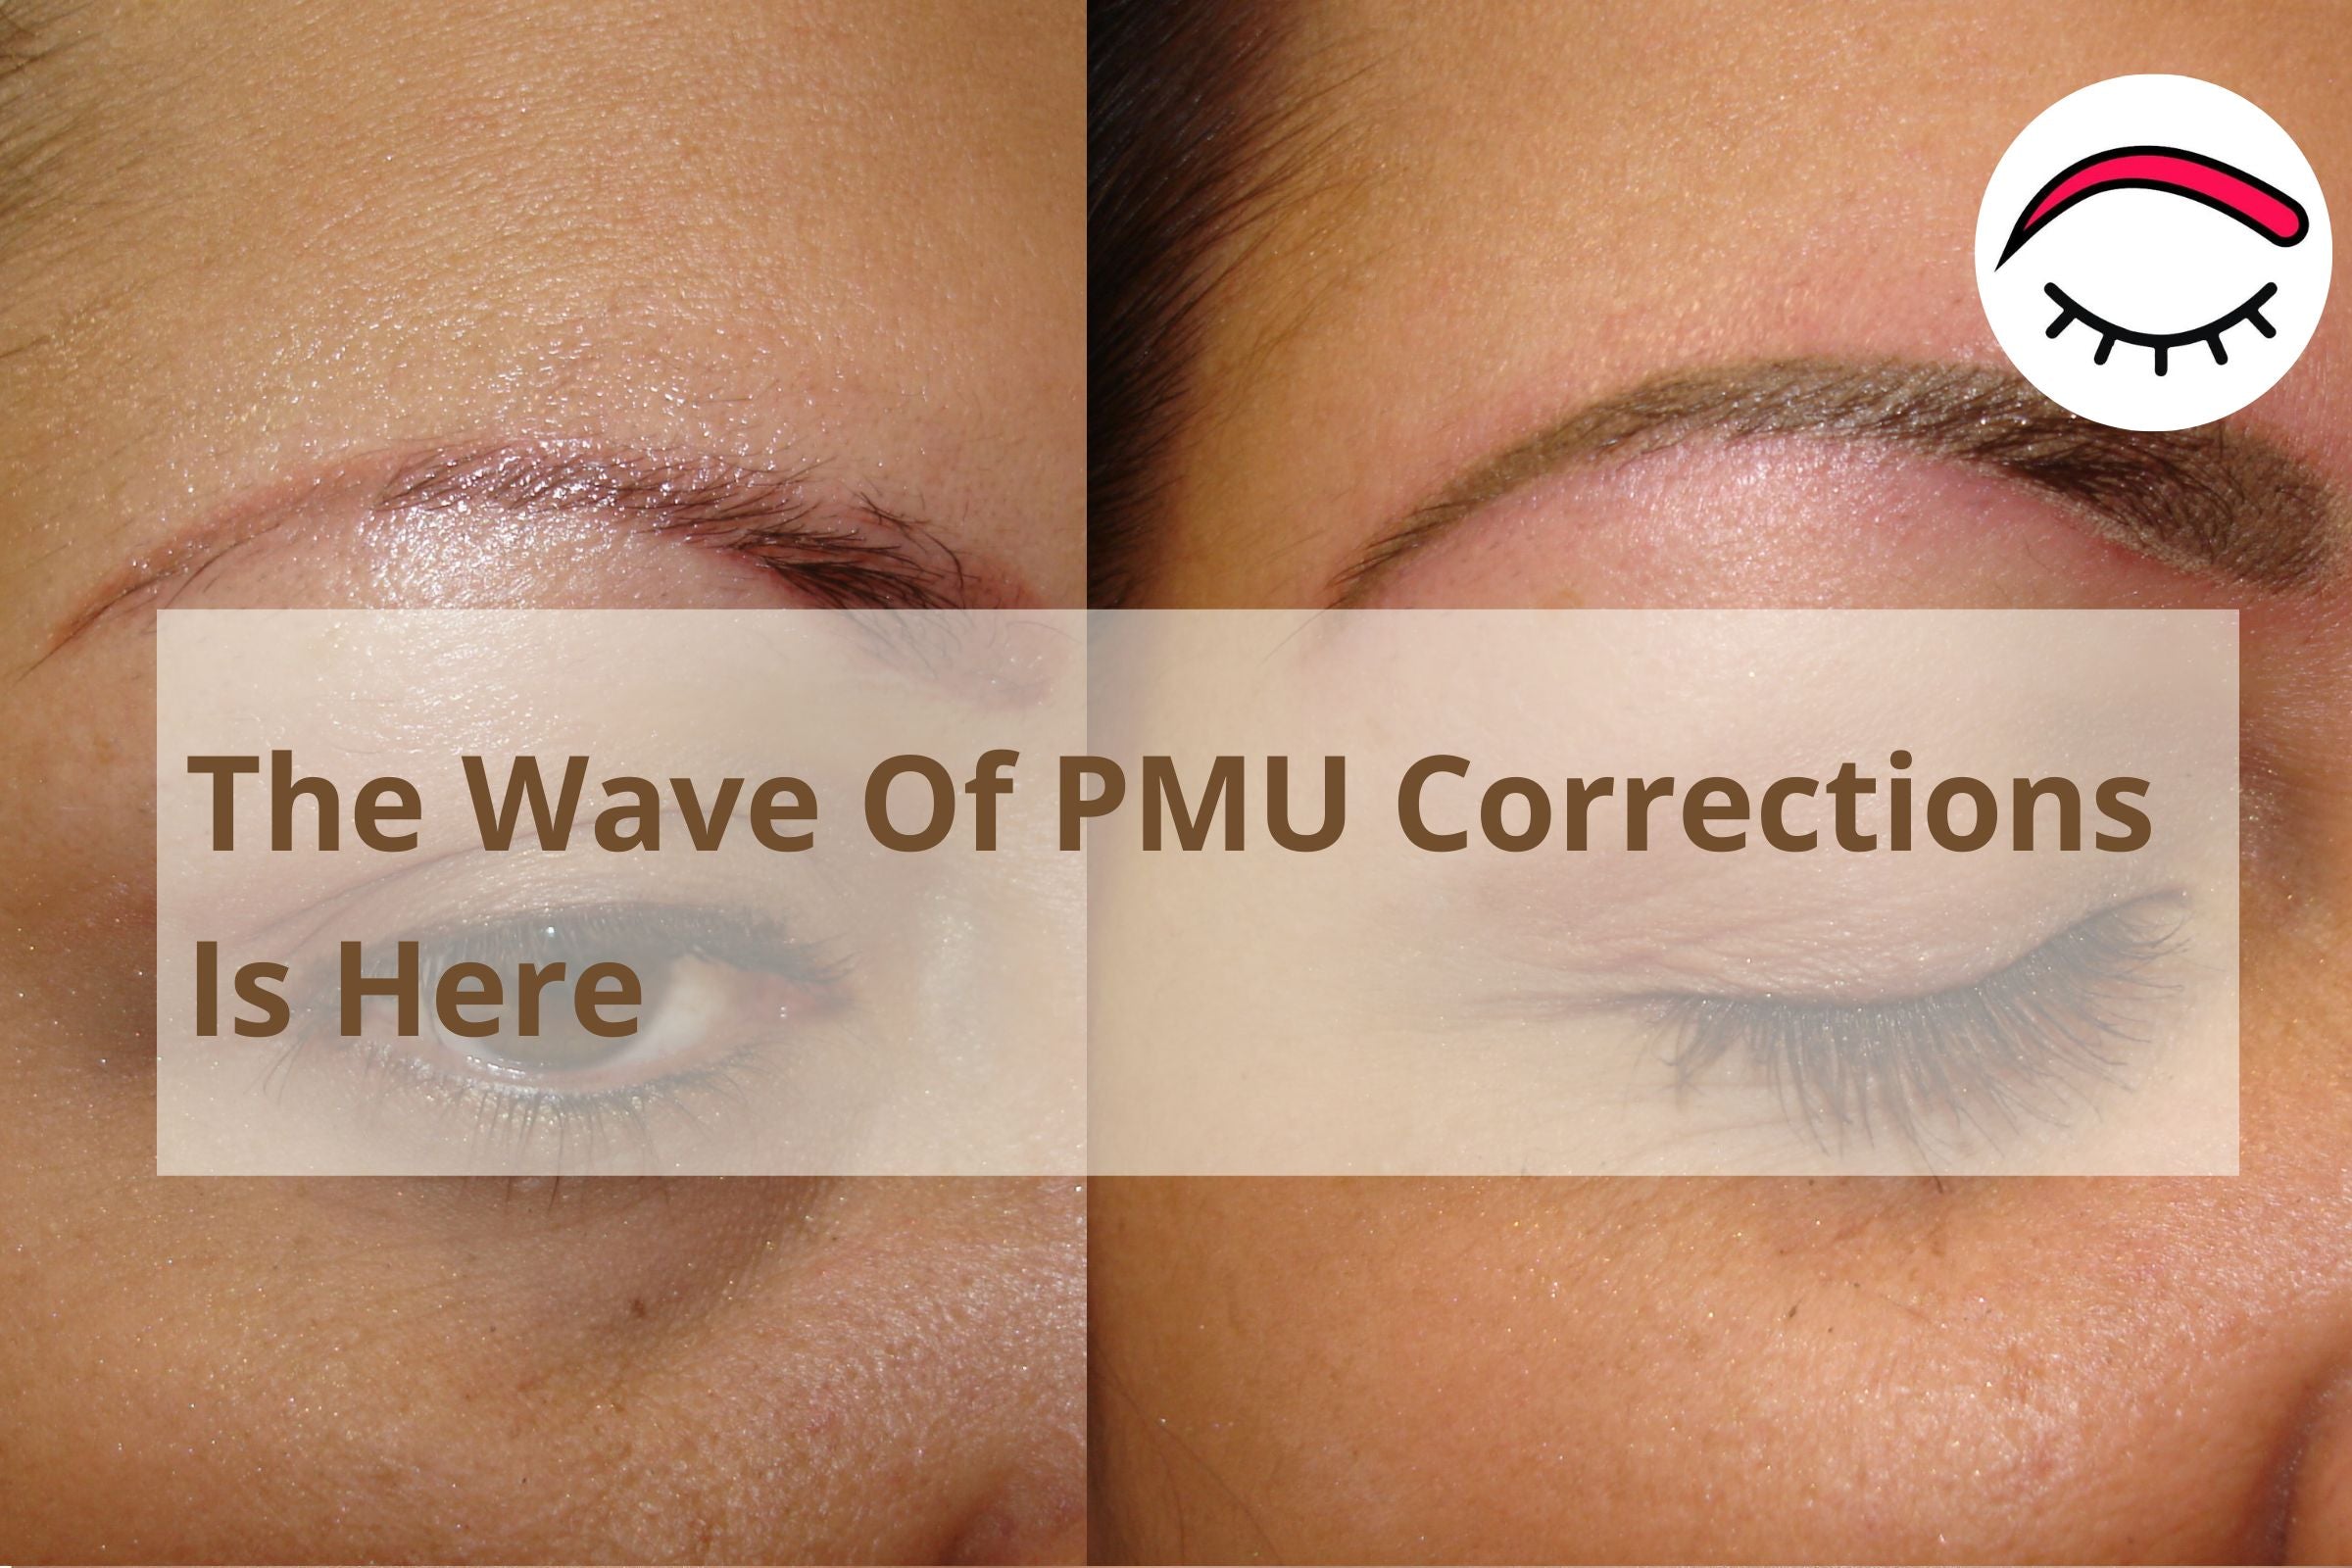
La Ola de Correcciones de PMU Está Aquí
Muchos técnicos me escriben para pedir orientación sobre cómo corregir o remover el maquillaje permanentge usando el removedor Lightning™ ya que las consultas sobre estos temas están aumentando en sus estudios.
Cómo Cambiar la Oscuridad Claridad de los Colores Softap
Tips y técnicas para cambiar efectivamente la oscuridad o la claridad de los colores Softap. Ya sea que necesite modificar el pigmento en sí o ajustar un procedimiento de maquillaje permanente anterior. Ofrecemos una amplia variedad de suministros para todas sus necesidades de maquillaje permanente, incluidos microblading, tatuaje de cejas, delineado de ojos y tatuaje de labios.
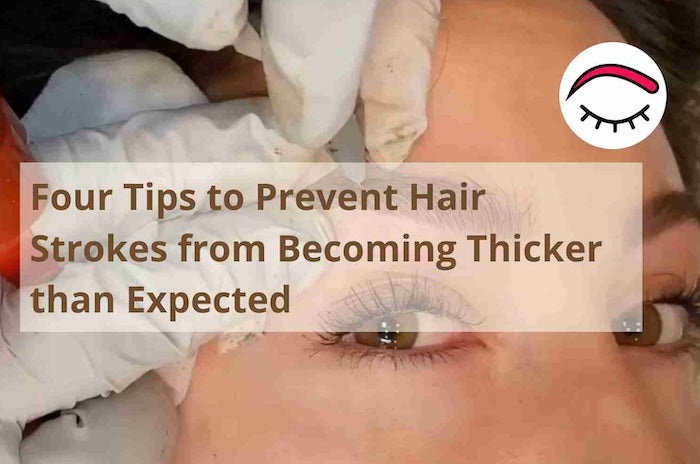
Cuatro Tips para Evitar que los Trazos de Vello se Vuelvan más Gruesos de lo Esperado
En este artículo, exploraremos cuatro consejos para evitar que los trazos de cabello se vuelvan más gruesos de lo deseado, cubriendo factores que están bajo y fuera de su control. Ya sea que sea un profesional experimentado o nuevo en microblading, estos consejos pueden ayudarlo a lograr resultados hermosos y de aspecto natural para sus clientes.
Subscribe for our training newsletter
WORLDWIDE LEADERS


