

3 Steps on How to do Patch Testing
PATCH TEST
In the practice of Permanent Makeup, every day, we face new clients, new cases, and new challenges. Color selection will always be one of those moments when experience plays a crucial role.
The more you become familiar with the color result, the easier it will predict the outcome of your procedures.
SofTap® colors are transparent and will blend in with whatever undertones are on the skin.
Sometimes the undertones and natural chemistry of a person's skin can turn slightly ashy or warm.
WHAT IS THE PATCH TEST ?
It is the implantation of pigment in a small area using the same color applied in the entire area of permanent makeup. Your client should understand that this color will remain on the skin for some time, so she should authorize this procedure knowing that it is not easily removable.
WHEN A PATCH TEST IS RECOMMENDED?
1. When your client wants to verify that the color is as she imagines it.
2. When you want to mix colors and you are not sure of the result you will get.
3. When you will do permanent lip makeup, if your client has a bluish undertone, and you are unsure if the selected color is the right one.
4. When you are going to do camouflage work, you need to mix different skin color shades, and you want to verify if that the mixture is correct.
WHAT IS THE PATCH TEST ?
It is the implantation of pigment in a small area using the same color applied in the entire area of permanent makeup. Your client should understand that this color will remain on the skin for some time, so she should authorize this procedure knowing that it is not easily removable.
3 Steps to do a Patch Test
1- SELECT THE COLOR
Select the color according to the area you are going to work, the effect you want to get, and your client's characteristics.
Note:
Fill the consent forms out and take pictures before starting the procedure.

2- IMPLANT THE COLOR
Take the color you want to try, do three passes of 5 to 10 taps each in a small area as follow
The eyebrows should be tested directly on the brow. I prefer to do the test on the tail of the eyebrows on both sides.
For lip colors, test it directly on the lip. I do it on the upper lip in the area near the corner and blend it upwards. I do it on both sides.
For a lip extension, work on the lip's edge, touching a small amount of skin exactly where will be placed in the procedure.
For eyeliners, do the test behind the ear.
3. VERIFY THE COLOR
During the follow-up appointment, compare the bottle's color with the color on the skin.
If you did the test on the eyebrows, if the color appears ashier than the bottle, this means that the client has strong blue undertones on the skin and will need to choose a color from the warm palette.
If the color appears warmer than the bottle, the client has strong red undertones, and you will need to select a color from the neutral palette. If you mixed colors, you should follow this same pattern.
If you applied the test on the lips and the color turned purple, you need to select a color with more orange on it, or you may do one pass with Orange Aid before applying the applied pigment. If you like the color you see, that's the color you should choose to implant in the whole lips.
If you are testing for camouflage, the result has to be inconspicuous to be the right shade. If you see the color applied, you must make the corresponding adjustments.
The patch test will help you gain confidence and get familiar with the Softap color´s result.

An Additional Tip
Patch testing is another procedure. Set a price for it.
The latest Blog posts by Dr. Cardona
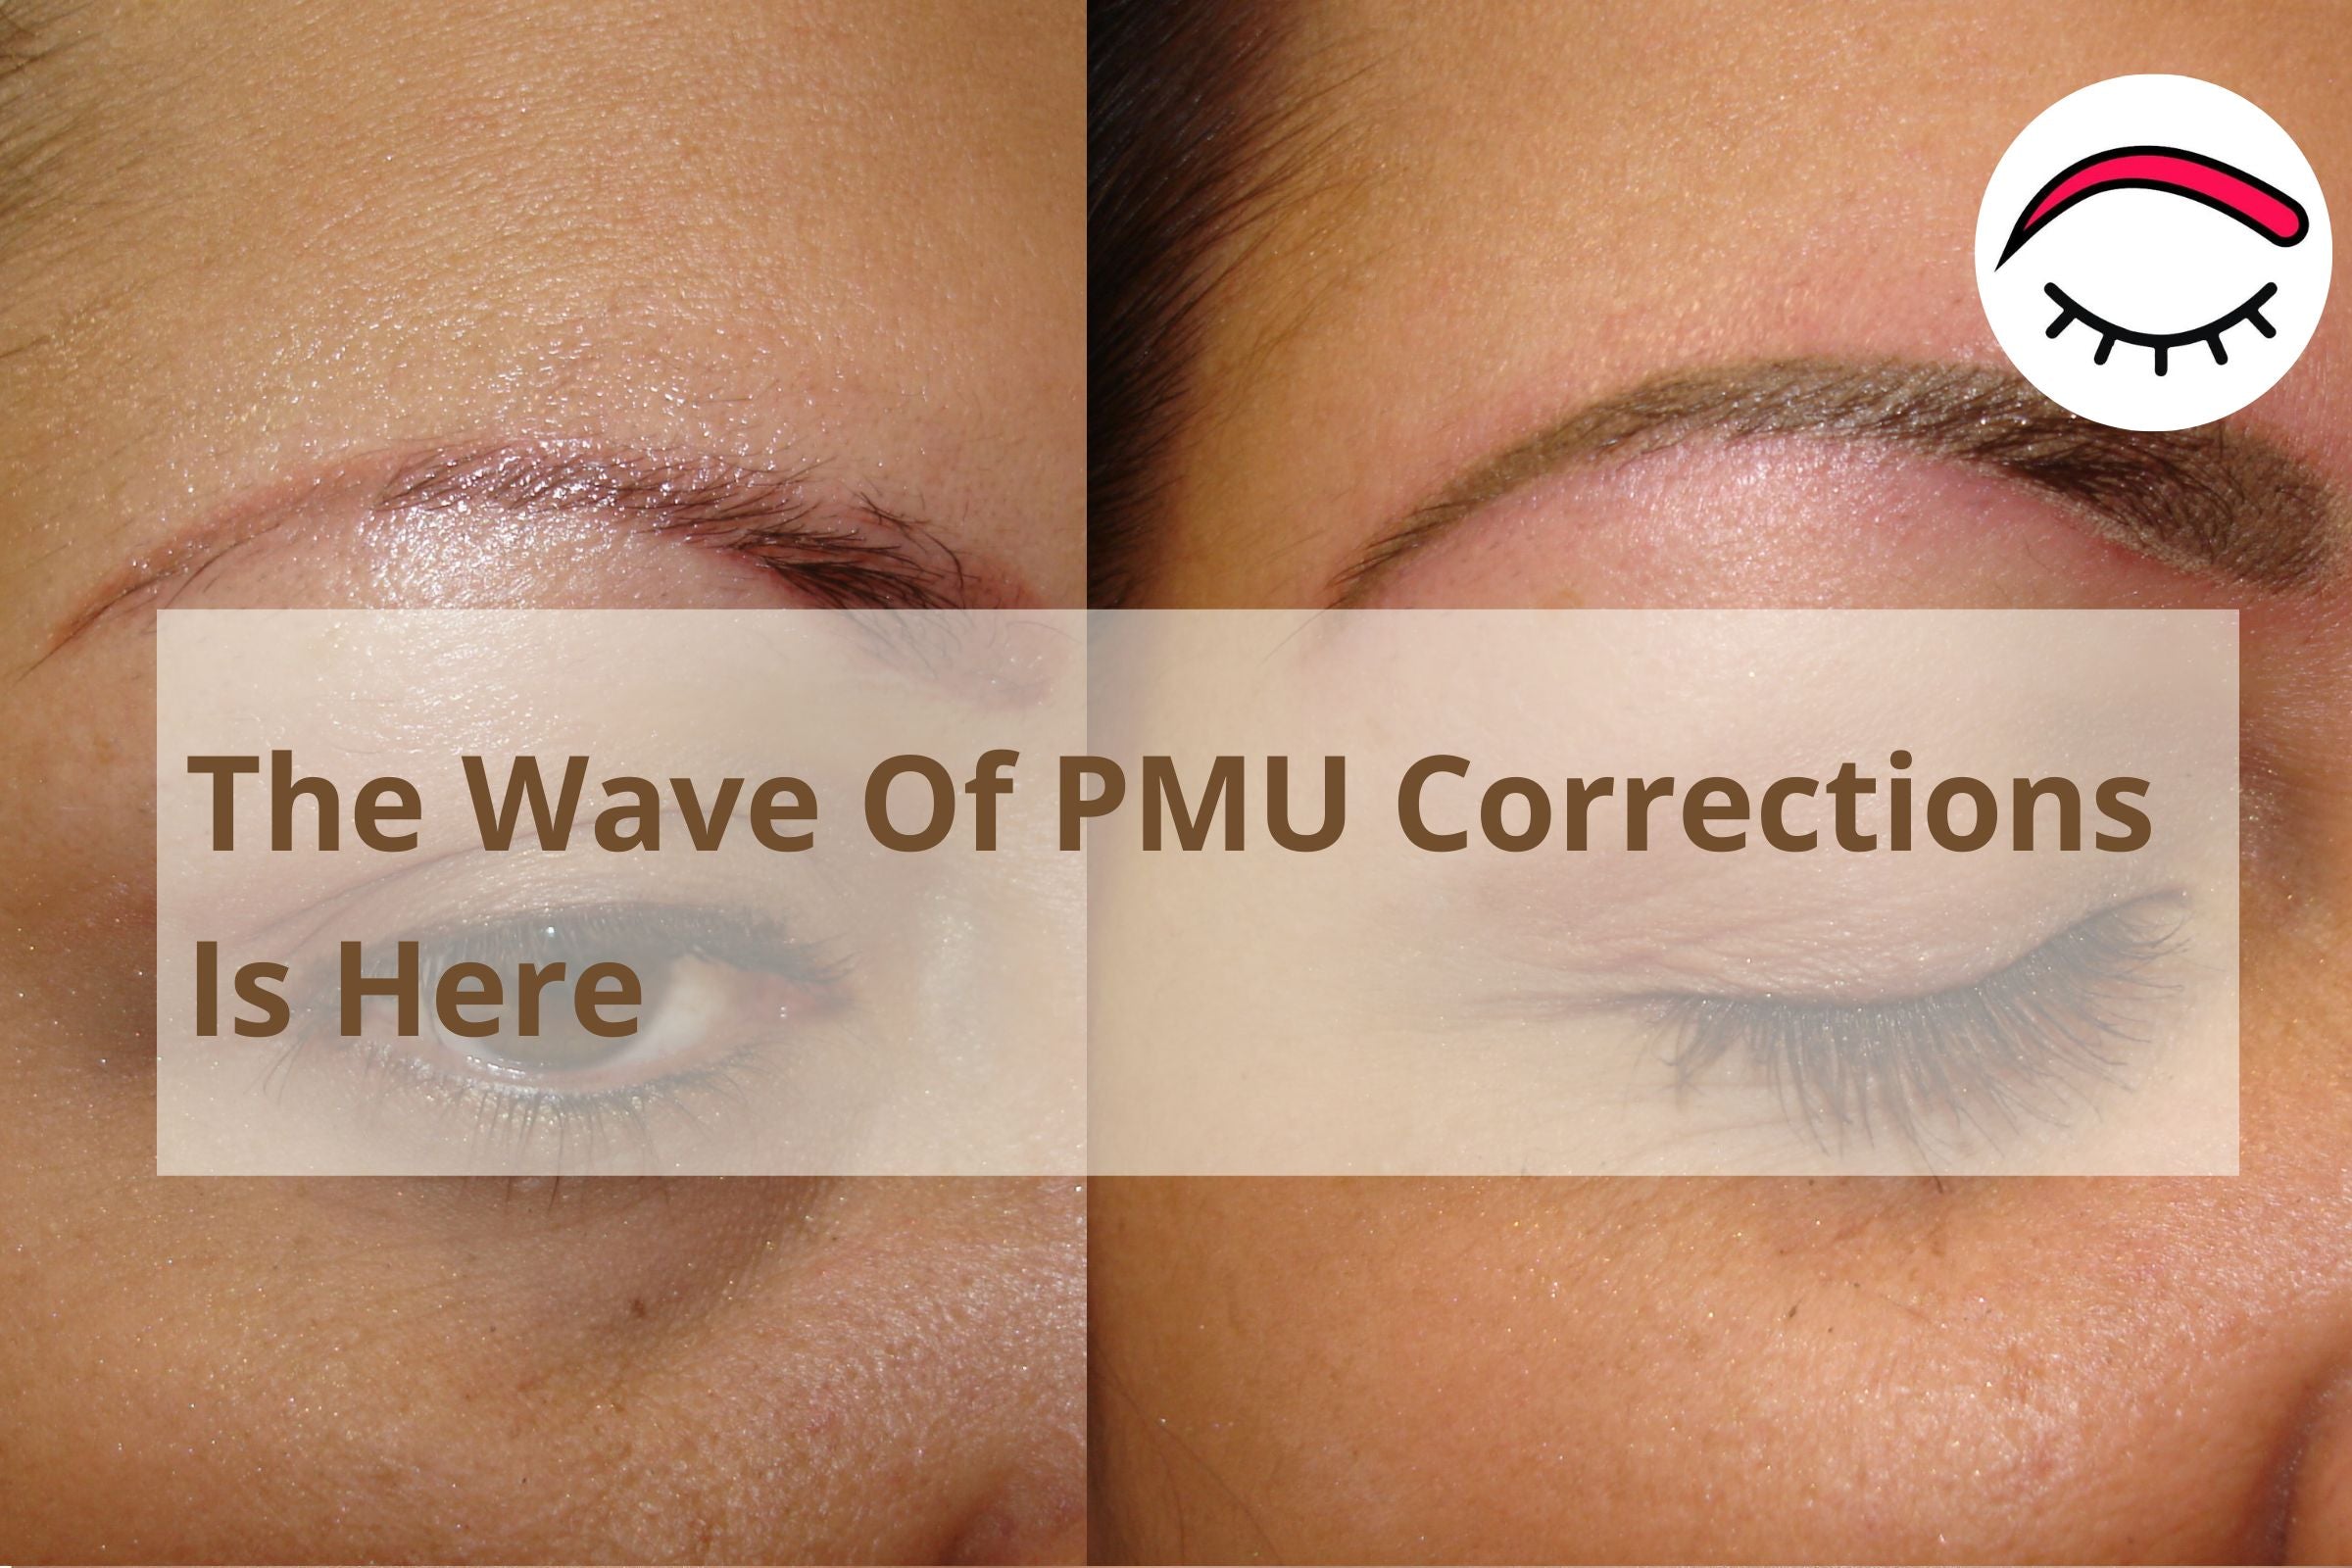
The Wave Of PMU Corrections Is Here
Many technicians write to me asking for guidance on correcting or erasing the work using Lightning™ remover since consultations about these issues are rising in their offices.
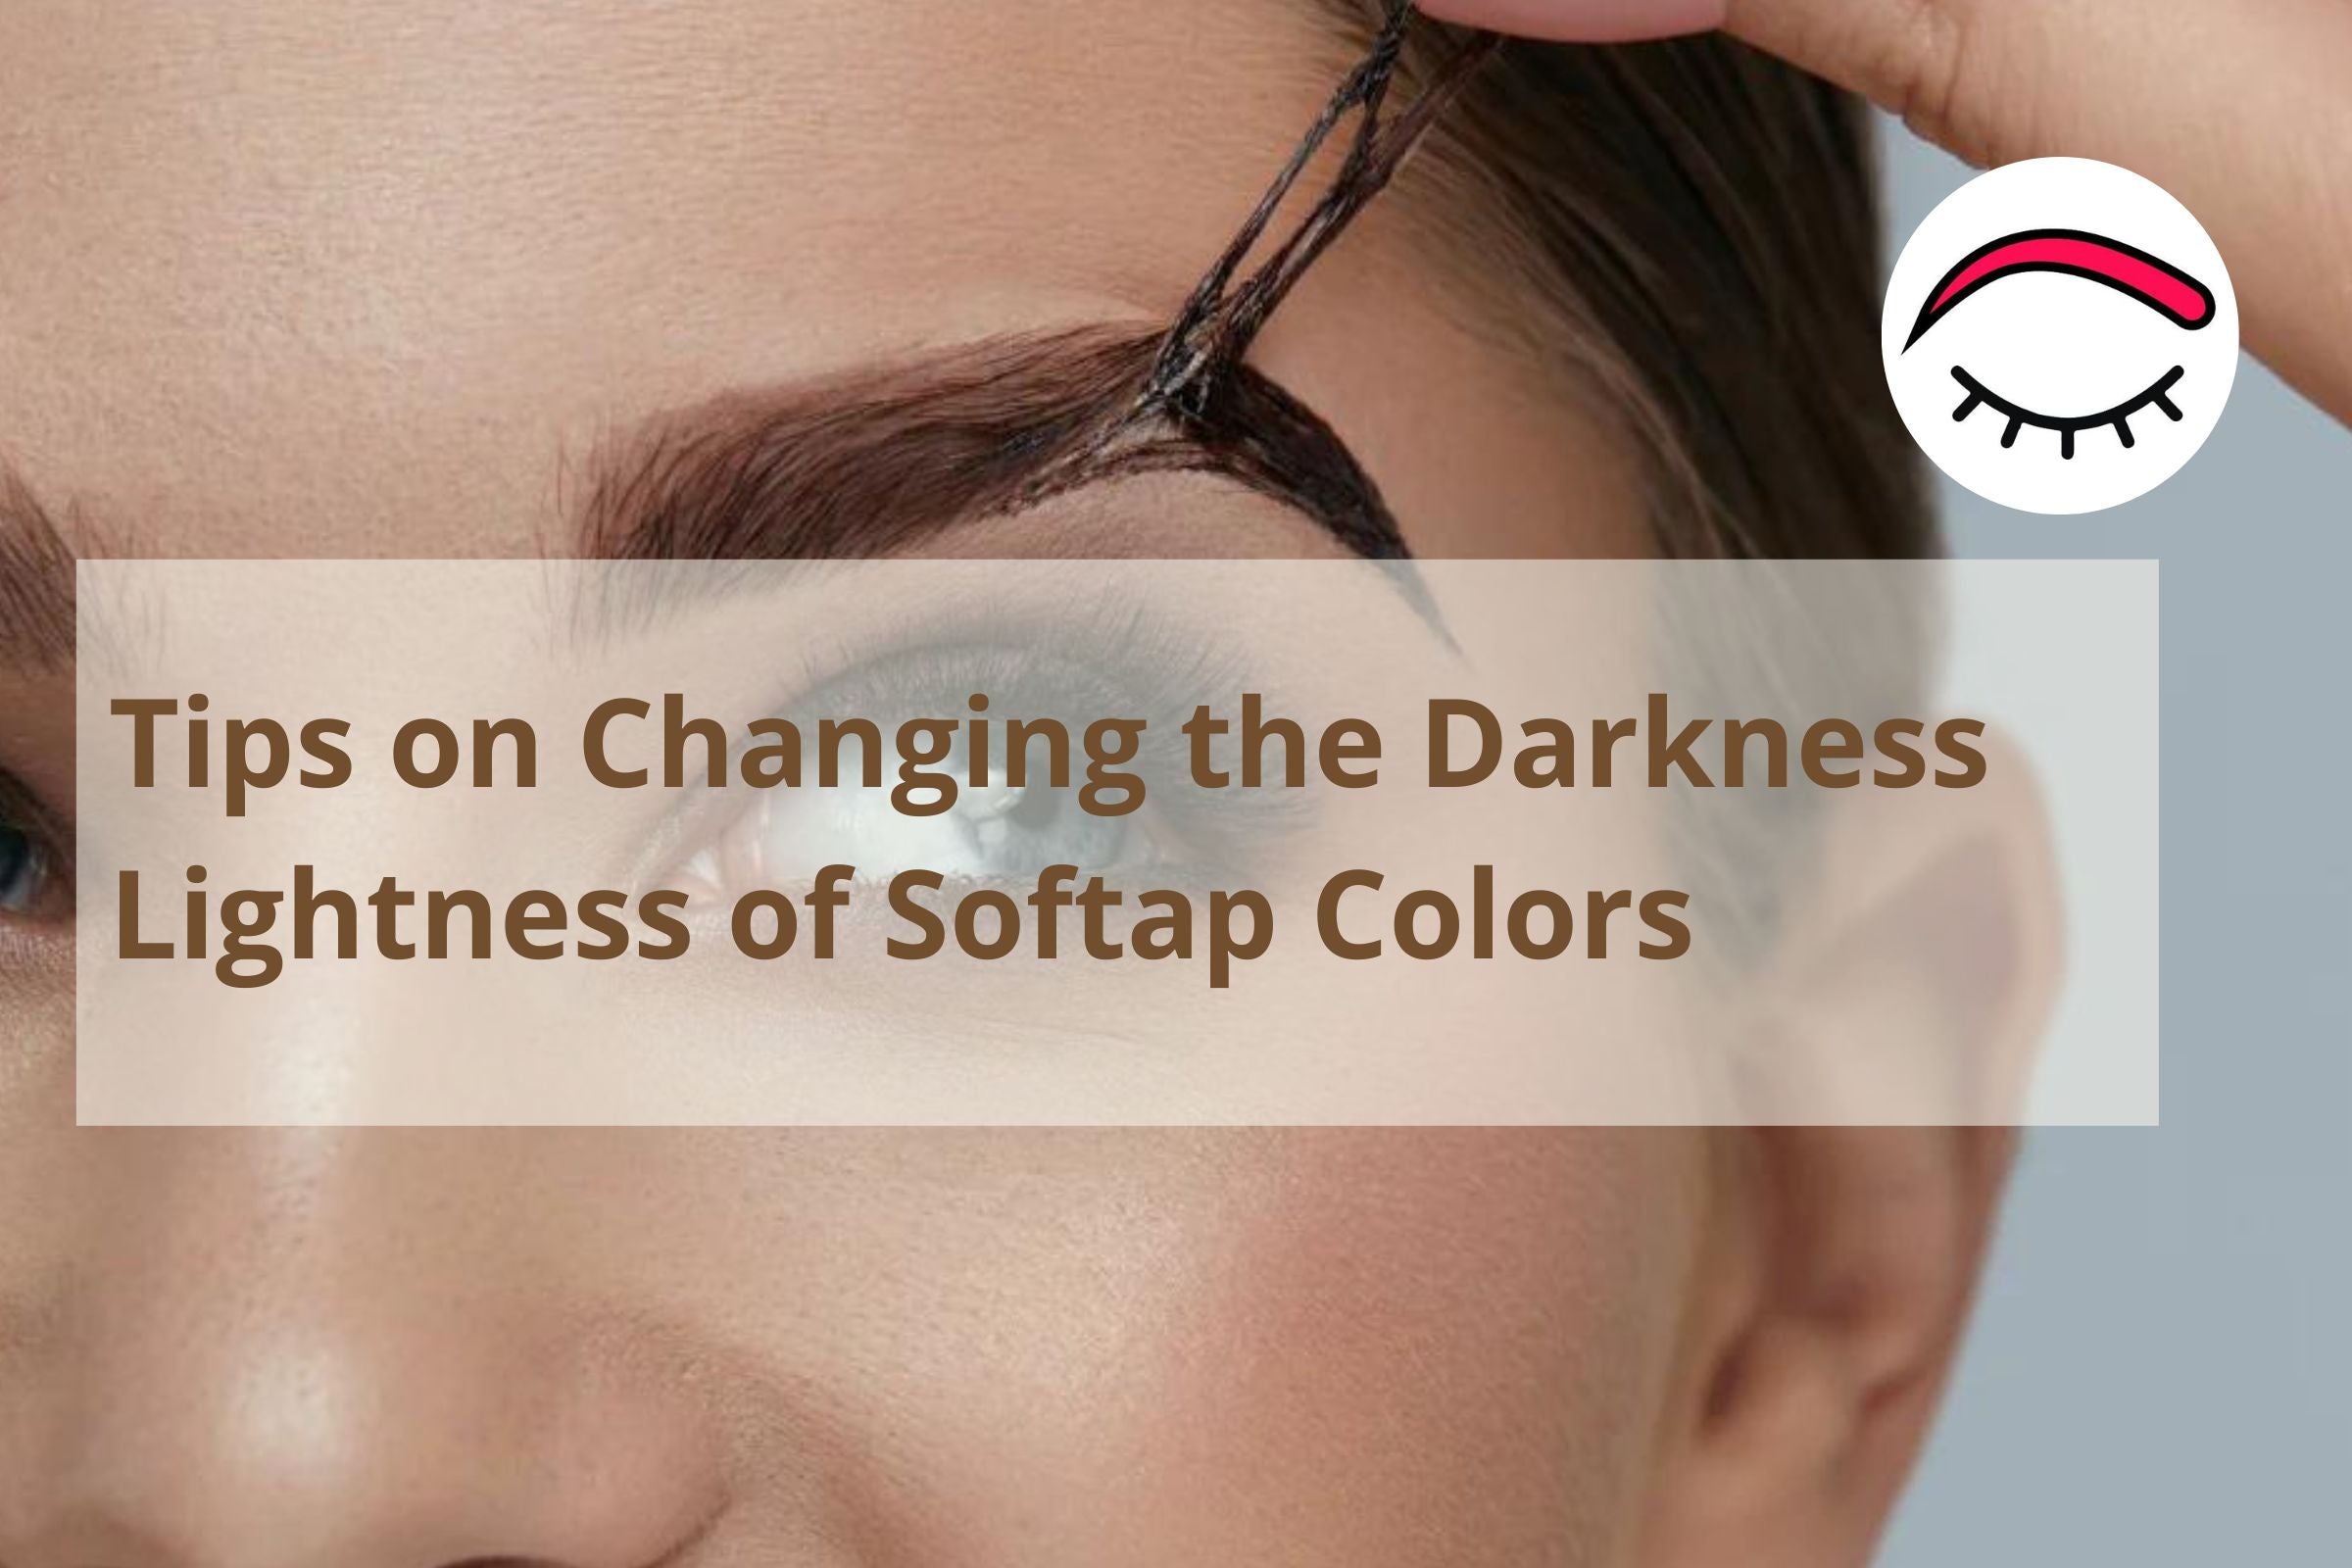
Tips on Changing the Darkness /Lightness of Softap Colors
Tips and techniques for effectively changing the darkness or lightness of Softap colors. Whether you need to modify the pigment itself or adjust a previous permanent makeup procedure We offer a wide variety of supplies for all your permanent makeup needs, including microblading, eyebrow tattooing, eyeliner, and lip tattooing.
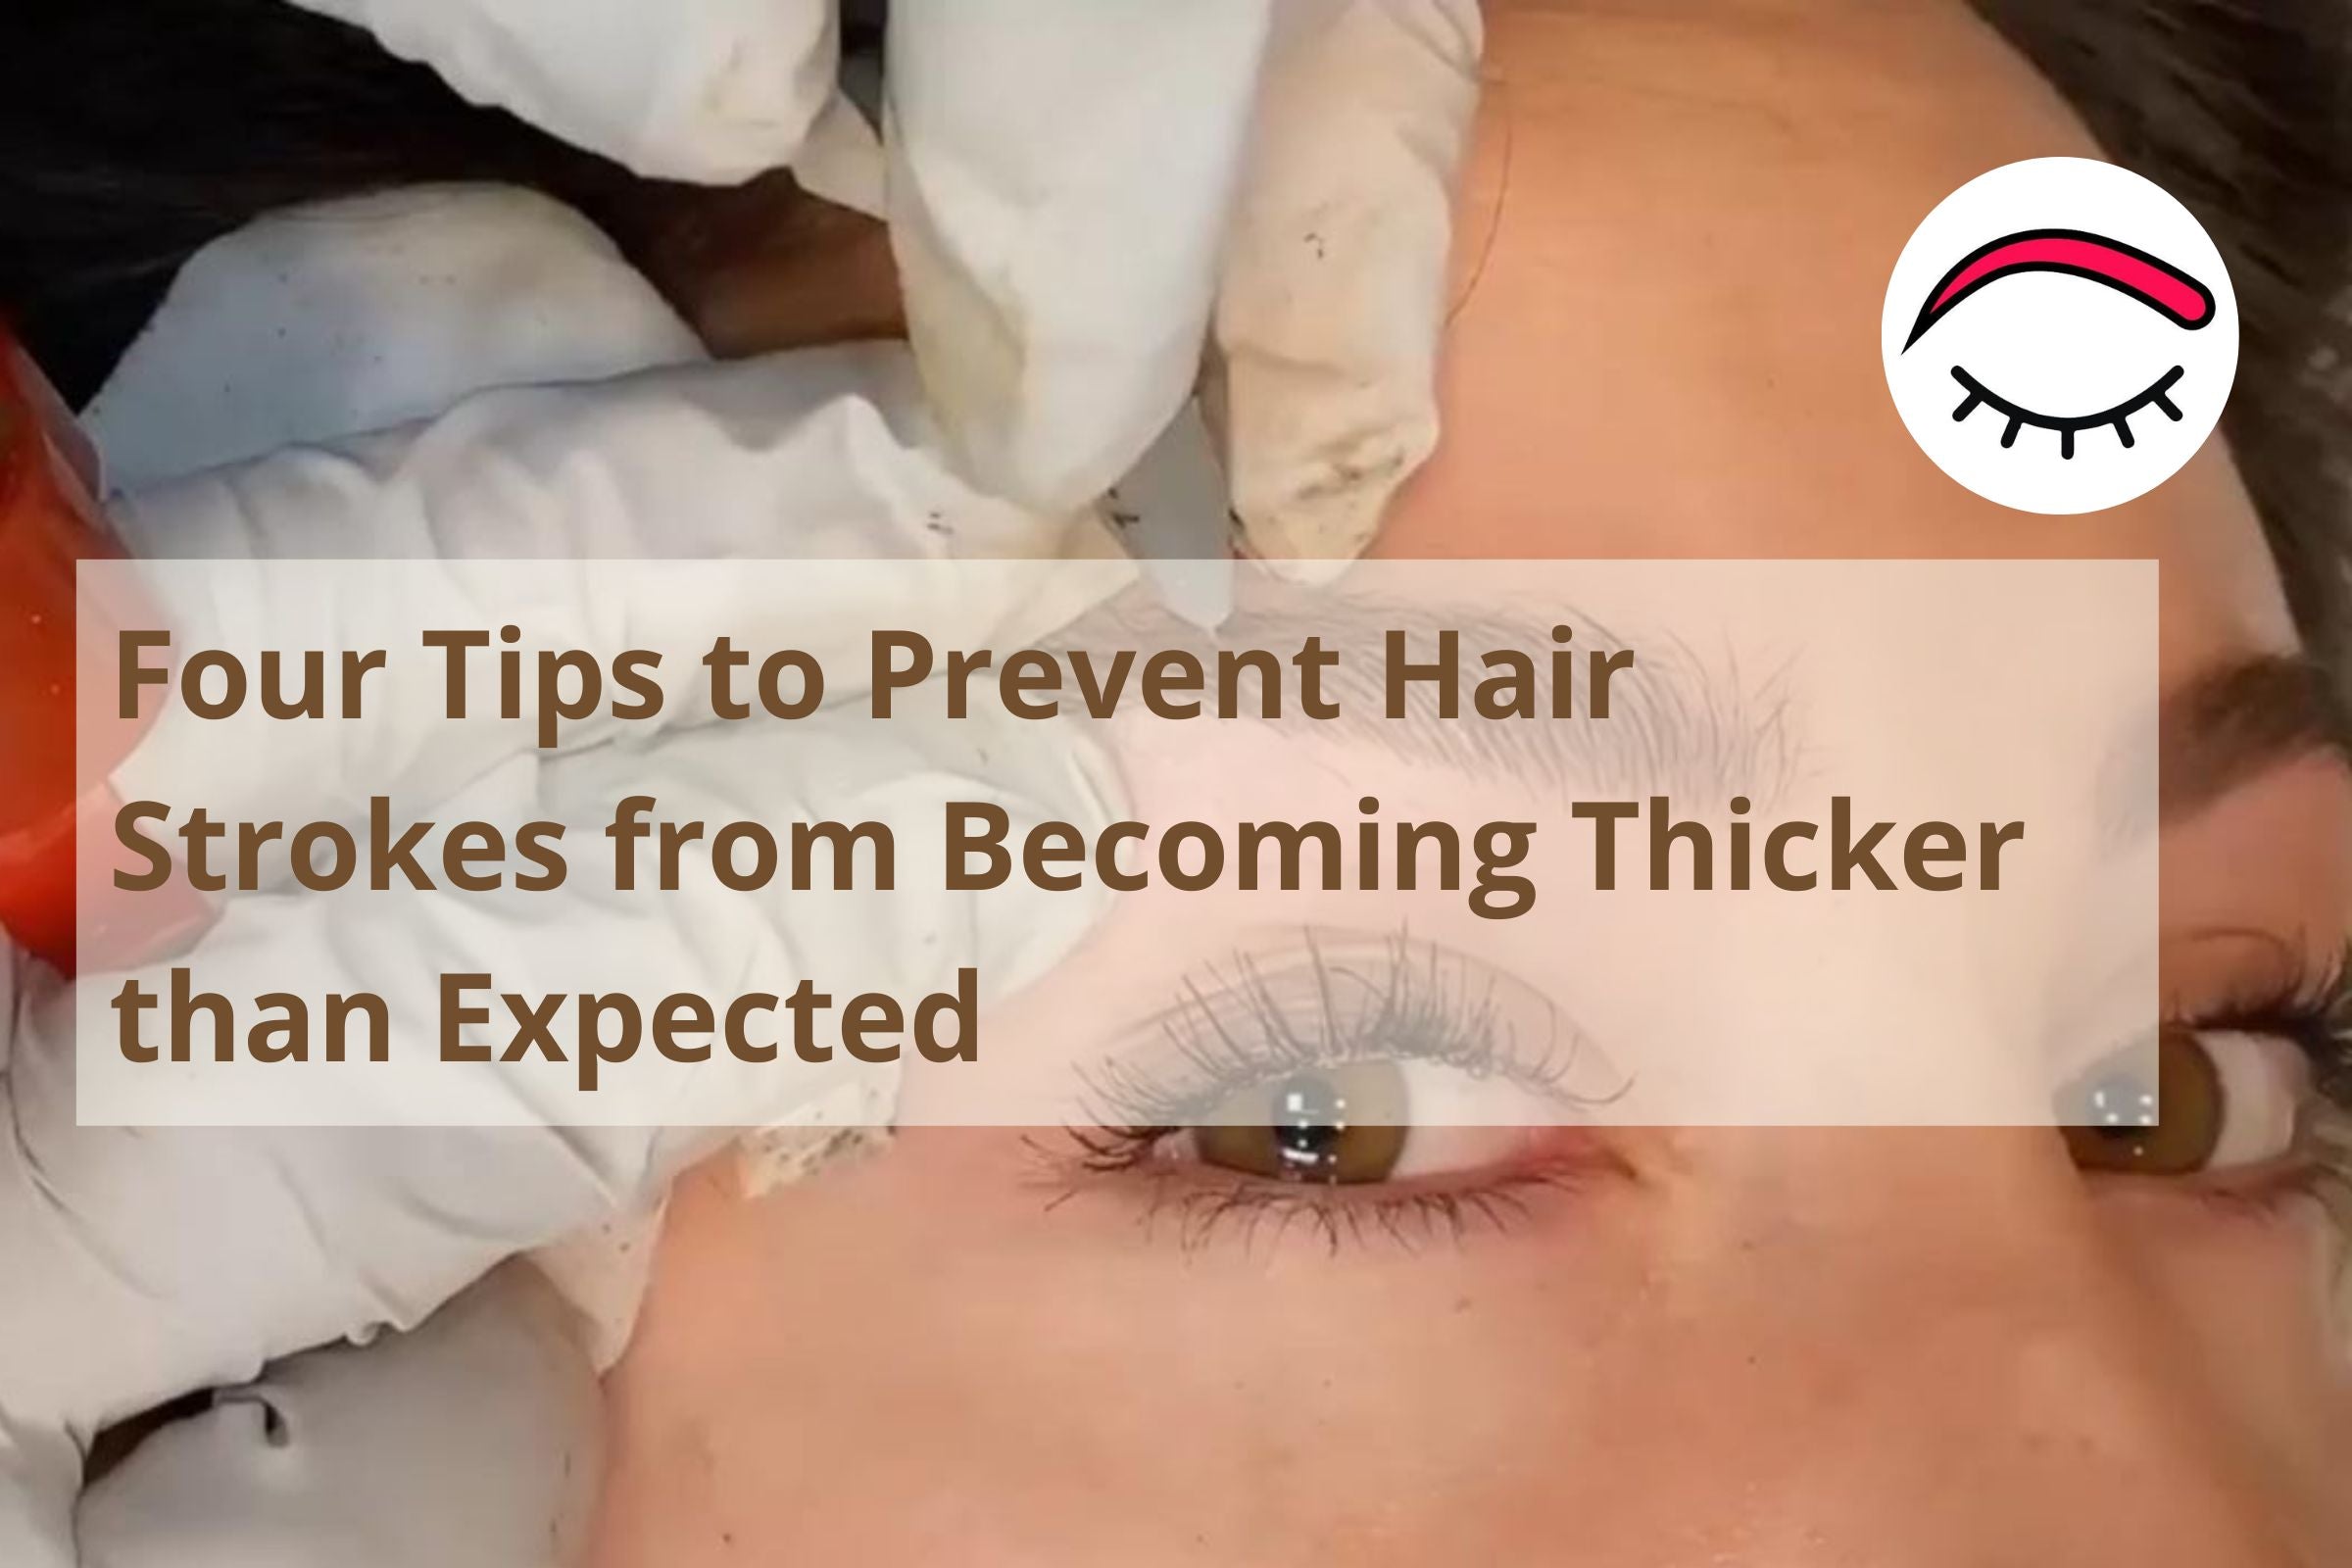
Four Tips to Prevent Hair Strokes from Becoming Thicker than Expected
In this article, we'll explore four tips to prevent hair strokes from becoming thicker than desired, covering factors that are both under and out of your control. Whether you're a seasoned professional or new to microblading, these tips can help you achieve beautiful and natural-looking results for your clients.

The Importance Of Your Client’s Medical History
In this article, we'll explore why your client's medical history is so important in the world of permanent makeup. From allergies to medications, there are many things that can affect the process and results of micropigmentation,or microblading and it's vital to know them before starting any PMU procedure

I hope that what I do, inspires you for your next Procedure!
Talk soon,
Dr. Sandra Cardona
Featured Products
WORLDWIDE LEADERS


FIND US


Hi Naphatchaya, To correct the Red, you need to neutralize with Lime Aid first and then apply the selected color. This article with help you to clear doubts regarding correction:https://buypermanentmakeup.com/blogs/a-guide-for-the-permanent-makeup-pro/how-to-make-a-permanent-makeup-touch-up-correctly
Hello I have a question. When my clients come for her touch up most the pigment faded leave the red color How I can do for correction color? ( The fist session I choose the neutral pallet. Thank you)
Nina